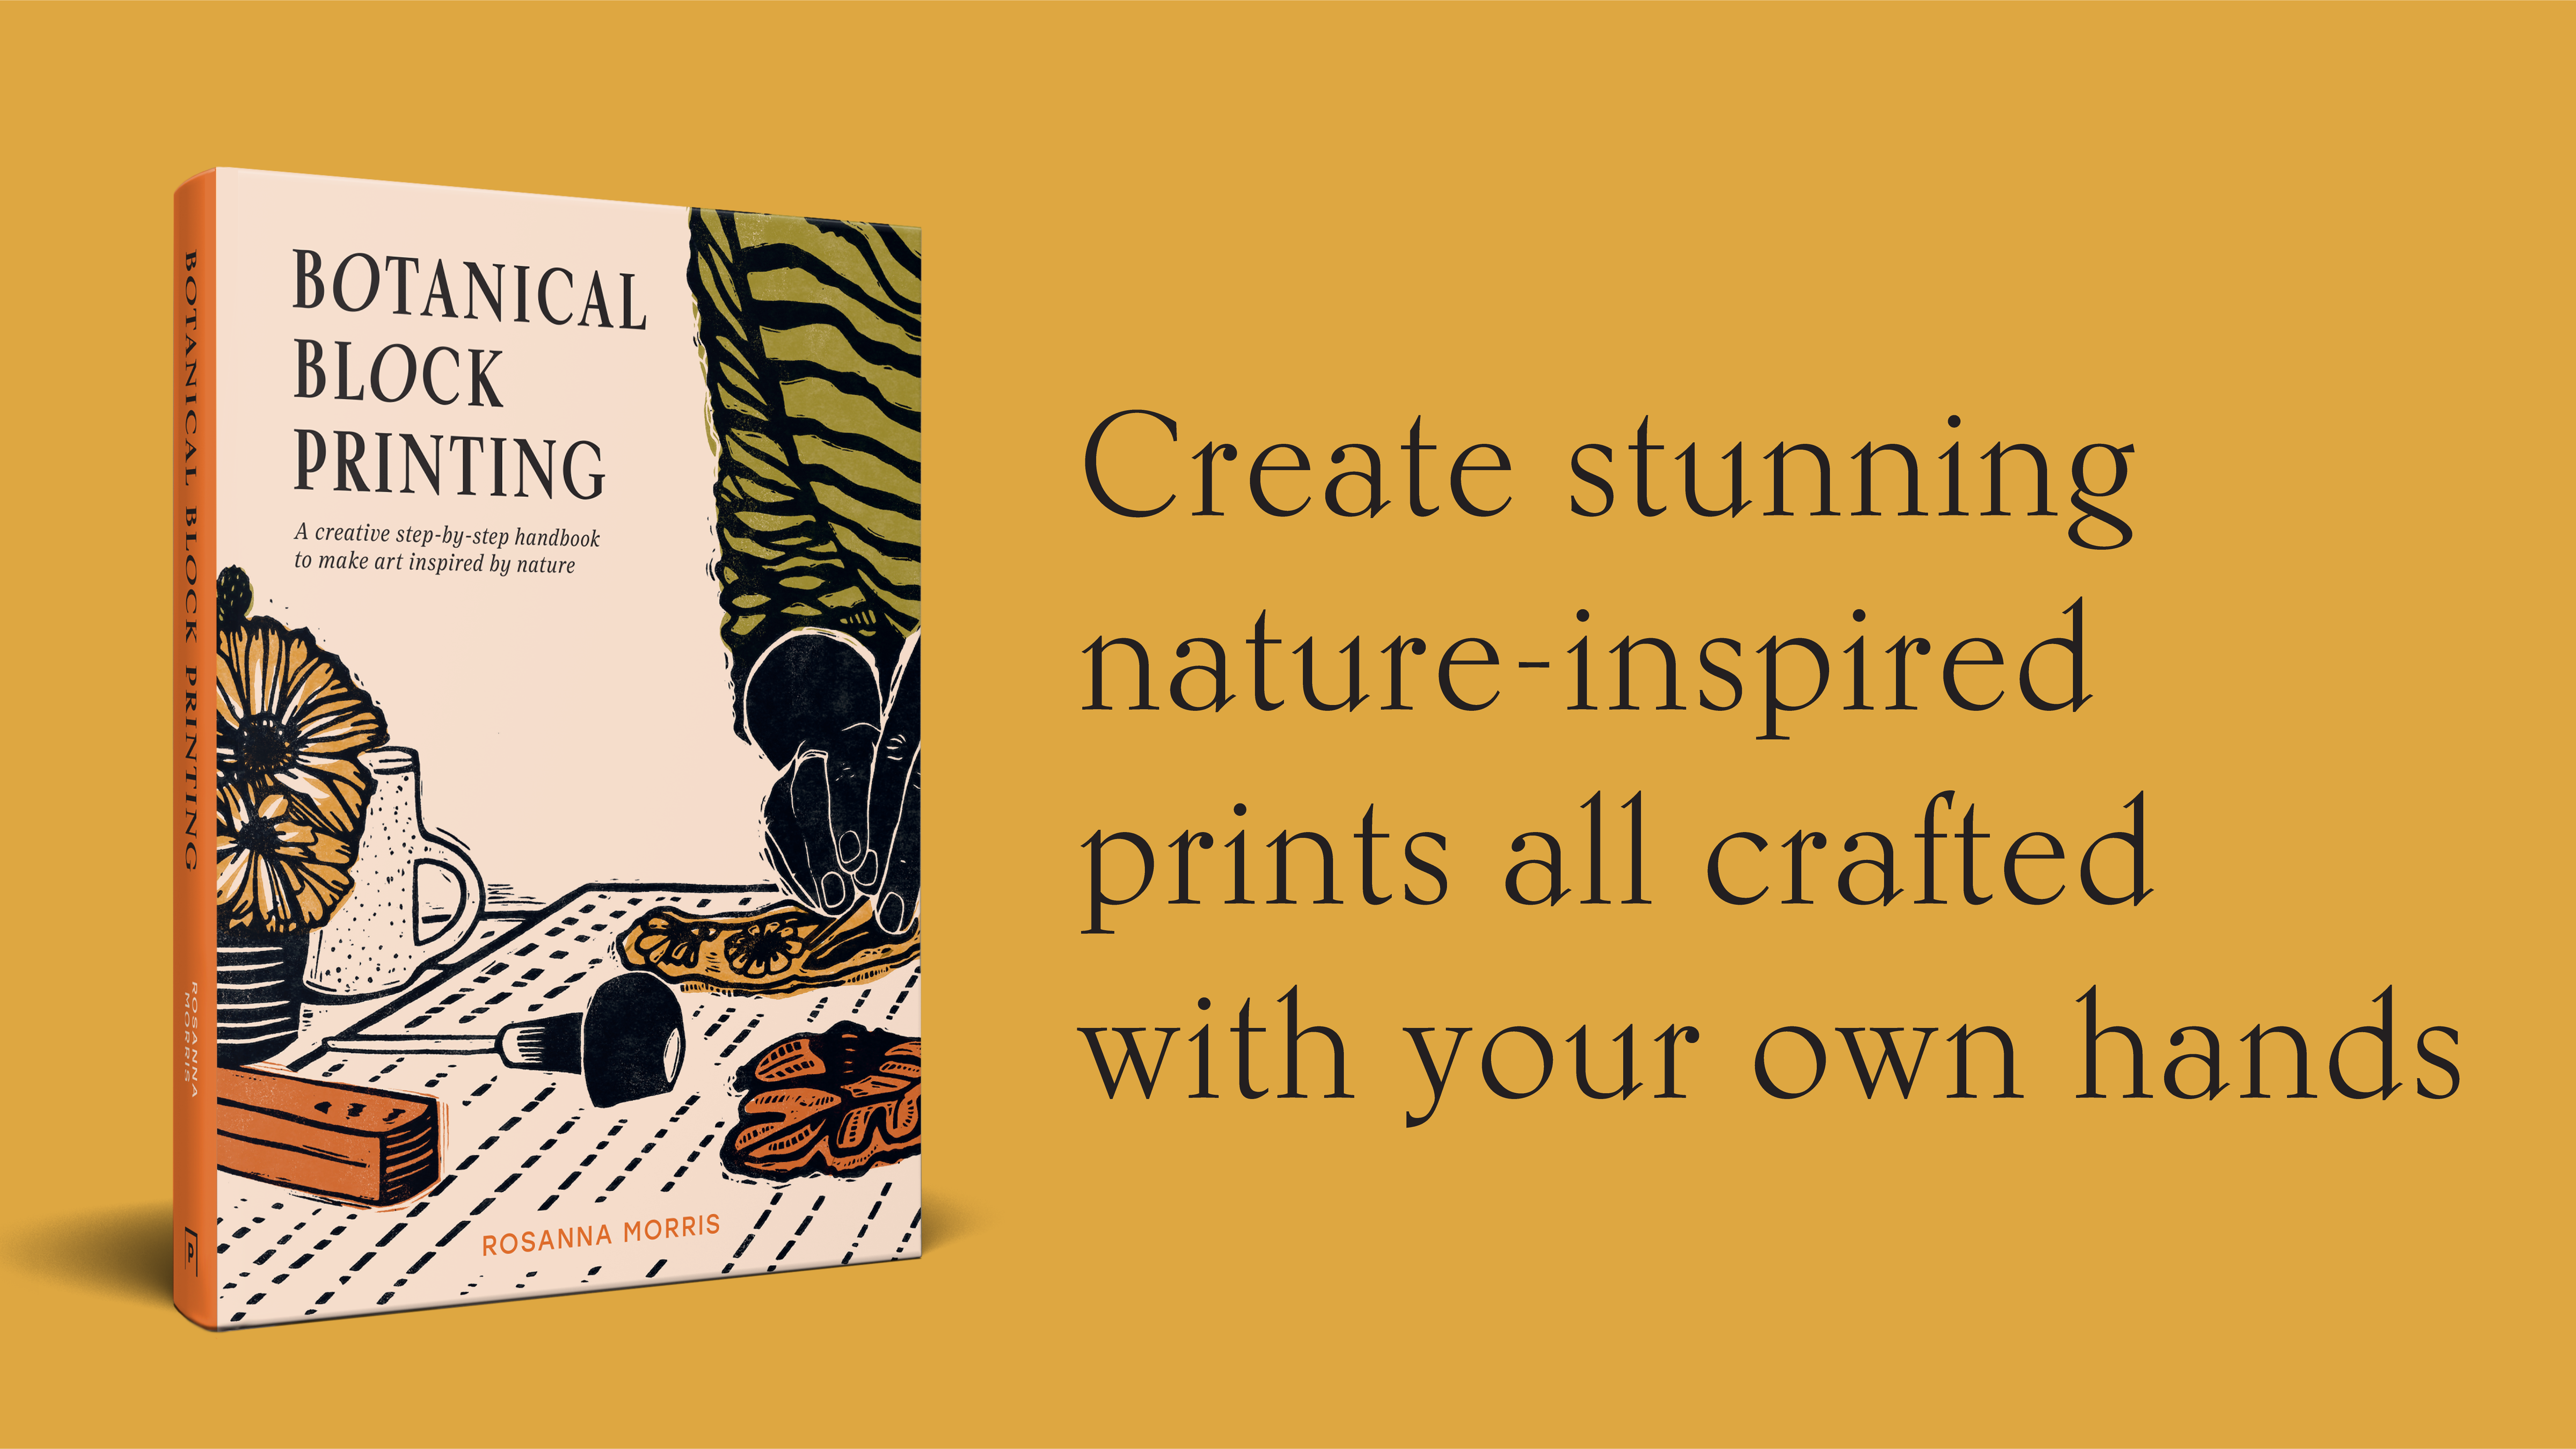
Read an exclusive extract from Botanical Block Printing by author and print maker Rosanna Morris.
Creating a texture block is a great opportunity to explore your carving tools and see what they are capable of. I like to make a couple of back-up copies of my texture blocks to reference back to when creating new designs. They are a great reminder of what’s possible with your tools if you are stuck in the design stage.
YOU WILL NEED
Prepared A4 lino block
Pencil
Paper for design and printing
Permanent marker pen
Ruler
Carving tools
Printing ink and rollers
Baren or printing press
TEXTURE IDEAS
Here are a few things to consider as you carve each section – be experimental and test what your tools can achieve. Try moving the block as you carve, especially for circles and S-shapes, and experiment with getting a consistency of line size, length, and depth. Play with straight, overlapping and curved lines, jagged edges and cross-hatching. You could even try letters – but keep in mind that everything prints in reverse!
- Using a pencil and ruler, divide the block into 5-cm (2-in) grid squares. Create an identical paper version of this grid alongside it to be used as a reference map.

- Use a permanent marker to go over these outlines so they don’t get smudged when carving. Use a V-shaped tool to carve out each of the grid lines.

- Now you’re ready, work methodically across the lino, experimenting with different carving tools and textures for each square.

- On the paper reference map, list each tool used as you complete each square on the grid to help you quickly identify them when you reference back later.

- Once complete, use a rag to clean off any dust or cut pieces, and make a couple of proof prints.

- Reflect on what worked and what didn’t and keep the texture block print in your scrapbook or pinned to your studio wall for reference in the future.
This extract is from Botanical Block Printing by Rosanna Morris. Out on April 25th.


